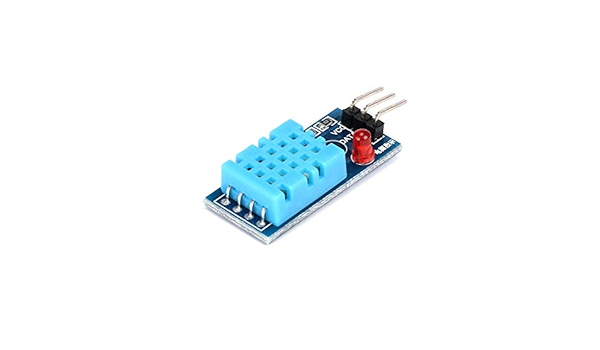
1. Brief Description of DHT22 KY-015 Humidity Sensor
The DHT22 KY-015 is a digital temperature and humidity sensor. It provides accurate humidity readings from 0 to 100% and temperature readings from -40 to 80°C. It is ideal for environmental monitoring and weather stations. Have questions? Ask them on our forum.
2. Parts Needed
- Arduino Uno
- DHT22 KY-015 Humidity Sensor
- Breadboard
- Jumper wires
- 10k Ohm resistor (if not built into the sensor)
3. Circuit Connection
Connect the DHT22 KY-015 sensor to the Arduino as follows:
- VCC: Connect to 5V pin on Arduino
- GND: Connect to GND pin on Arduino
- Data: Connect to digital pin 2 on Arduino
If your sensor does not have a built-in pull-up resistor, add a 10k Ohm resistor between VCC and the Data pin.
4. Code
Here is the sample code to read data from the DHT22 KY-015 sensor. The code uses the DHT.h library, which you can install from the Arduino Library Manager.
// Include the library
#include <DHT.h>

// Define the pin where the data line is connected
#define DHTPIN 2

// Define the sensor type
#define DHTTYPE DHT22

// Create a DHT object
DHT dht(DHTPIN, DHTTYPE);

void setup() {
  // Start the serial communication
  Serial.begin(9600);
  // Initialize the DHT sensor
  dht.begin();
}

void loop() {
  // Wait a few seconds between measurements
  delay(2000);

  // Read humidity and temperature
  float humidity = dht.readHumidity();
  float temperature = dht.readTemperature();

  // Check if any reads failed
  if (isnan(humidity) || isnan(temperature)) {
    Serial.println("Failed to read from DHT sensor!");
    return;
  }

  // Print the results to the Serial Monitor
  Serial.print("Humidity: ");
  Serial.print(humidity);
  Serial.print(" %\t");
  Serial.print("Temperature: ");
  Serial.print(temperature);
  Serial.println(" *C");
}
5. Testing and Results
After uploading the code to your Arduino, open the Serial Monitor (Ctrl+Shift+M) in the Arduino IDE. You should see the humidity and temperature readings displayed every two seconds. If the readings are accurate and updating regularly, your sensor is working correctly.
6. Troubleshooting
- No readings: Ensure the sensor is properly connected and the correct pin is defined in the code.
- Incorrect readings: Verify the sensor is not near heat sources or moisture that could affect readings.
- Failed to read from DHT sensor: Double-check connections and ensure the library is installed correctly.
7. Example Project Ideas
- Home weather station displaying temperature and humidity on an LCD screen
- Smart garden system that monitors soil moisture along with environmental humidityhttps://docs.arduino.cc/tutorials/mkr-iot-carrier/smart-garden-project
- IoT-enabled environmental monitoring system with data logging to a cloud platform