Introduction to beginners guide.
Welcome to the exciting world of Arduino! If you’re reading this, you’re probably interested in diving into the maker community and learning about one of the most popular platforms for DIY electronics – Arduino. This Arduino Beginners Guide will walk you through everything you need to know to get started with Arduino in three easy steps.
Arduino is an open-source electronics platform that’s based on easy-to-use hardware and software. It’s designed to make electronics more accessible to artists, designers, hobbyists, and anyone interested in creating interactive objects or environments. With Arduino, you can build everything from simple LED displays to complex, internet-connected home automation systems.
In this guide, we’ll cover the basics of getting started with Arduino. We’ll start by discussing what Arduino is and why it’s a great platform for beginners. Then, we’ll walk you through the process of setting up your Arduino environment and running your first project. By the end of this guide, you’ll have a solid foundation in Arduino and be ready to start building your own projects.
If you face any problems while trying this tutorial, Please feel free to ask your questions in our forum Here.
Step 1: Buying an Arduino Starter Kit for beginners.
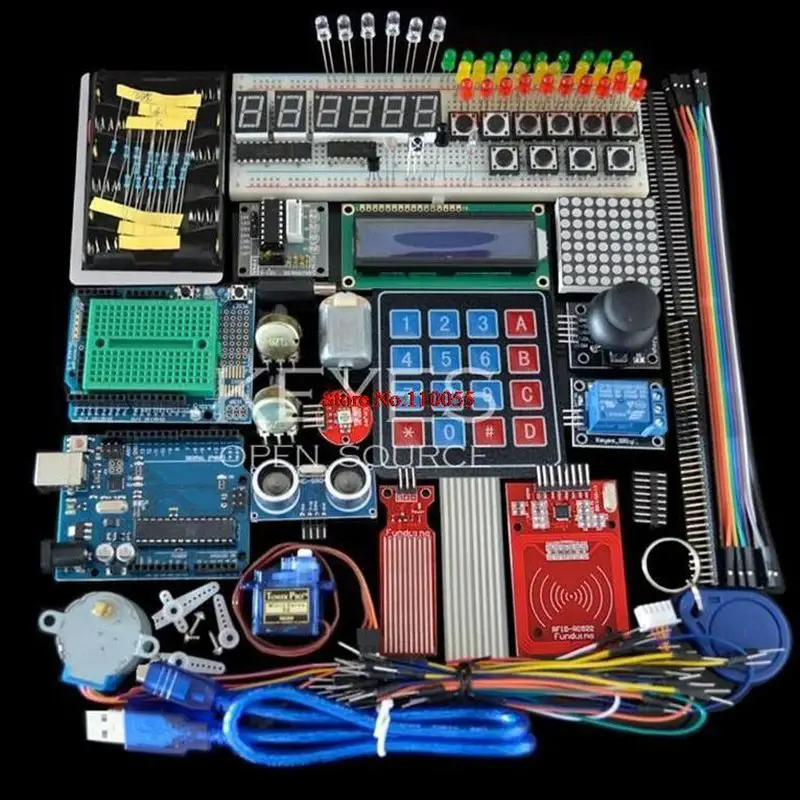
The first step in your Arduino journey is to get your hands on an Arduino Starter Kit. A starter kit is a great choice for beginners because it includes the Arduino board and a variety of components that you can use to build your first projects.
When choosing a starter kit, look for one that includes a range of components such as LEDs, resistors, capacitors, a servo motor, and a breadboard. These components will allow you to experiment with different types of projects and learn the basics of electronics and programming.
We recommend this Arduino Starter Kit for beginners. It includes everything you need to get started and has excellent reviews. But remember, the goal is to learn and have fun, so choose a kit that excites you!
In the next section, we’ll talk about how to set up your Arduino environment and start programming your Arduino board. Stay tuned!
Step 2: Setting Up Your Arduino Environment
Once you have your Arduino Starter Kit, the next step is to set up your Arduino environment. This involves installing the Arduino IDE (Integrated Development Environment) on your computer, which is the software you’ll use to write and upload code to your Arduino board.
Downloading and Installing the Arduino IDE
The Arduino IDE is a free software that allows you to write and upload code to your Arduino board. It’s available for Windows, Mac OS X, and Linux. You can download it from the official Arduino website.
Here’s how to install the Arduino IDE:
- Visit the Arduino download page and download the latest version of the Arduino IDE for your operating system.
- Once the download is complete, open the installer and follow the prompts to install the Arduino IDE.
- After the installation is complete, you can launch the Arduino IDE from your applications menu or desktop shortcut.
Connecting Your Arduino Board
Now that you have the Arduino IDE installed, it’s time to connect your Arduino board to your computer. Here’s how:
- Connect your Arduino board to your computer using the USB cable included in your starter kit.
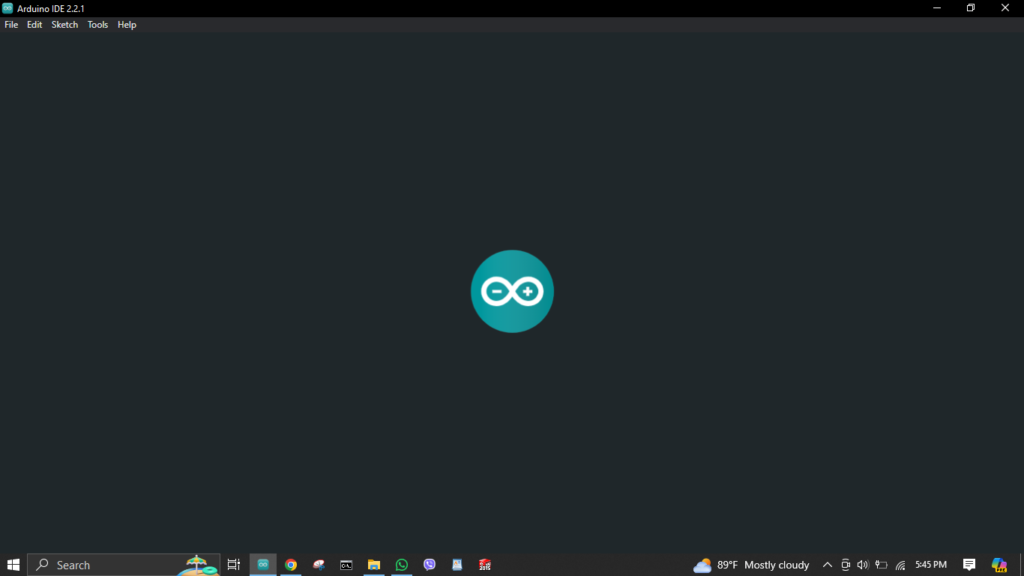
- Open the Arduino IDE. You should see a blank sketch, which is where you’ll write your code.
- Go to the Tools menu, then select Board and choose the type of Arduino board you’re using.
- Next, go to the Tools menu again, select Port, and choose the port that your Arduino board is connected to.
Testing Your Setup
To make sure everything is working correctly, let’s upload a simple sketch to your Arduino board. The Arduino IDE comes with a number of pre-written sketches that you can use to test your setup. Here’s how to upload a sketch:
- In the Arduino IDE, go to File > Examples > 01.Basics > Blink. This will open the Blink sketch.
- Click the Upload button (the right-facing arrow) in the top left corner of the Arduino IDE. This will compile the sketch and upload it to your Arduino board.
- If everything is working correctly, you should see the onboard LED on your Arduino board start to blink.
Congratulations! You’ve successfully set up your Arduino environment and uploaded your first sketch. In the next section, we’ll dive into writing your own sketches and running your first Arduino project.
Step 3: Running Your First Arduino Project
Now that you have your Arduino environment set up, it’s time to run your first Arduino project! A great beginner project is to make an LED blink on your Arduino board. This project will help you understand the basics of an Arduino program, also known as a sketch, and how to control hardware with software.
Understanding an Arduino Sketch as a beginner.
An Arduino sketch is a program written in the Arduino programming language. It’s made up of two main parts: the setup() function and the loop() function.
- The
setup()function is run once when the Arduino board is powered on or reset. It’s usually used to initialize variables, input and output pin modes, and start using libraries. - The
loop()function runs over and over again, as long as the Arduino is powered on. It’s where the main logic of your sketch goes.
Your First Project: Blinking an LED
Here’s a simple sketch that will make an LED blink:
// define the pin where the LED is connected
const int ledPin = 13;

void setup() {
  // initialize the digital pin as an output
  pinMode(ledPin, OUTPUT);
}

void loop() {
  digitalWrite(ledPin, HIGH);   // turn the LED on
  delay(1000);                  // wait for a second
  digitalWrite(ledPin, LOW);    // turn the LED off
  delay(1000);                  // wait for a second
}
This sketch first defines the pin where the LED is connected. In the setup() function, it sets this pin as an output. The loop() function then turns the LED on and off every second.
Experimenting with Your Project
One of the best ways to learn Arduino is by experimenting with your projects. Try modifying the Blink sketch to change the blink rate of the LED, or add more LEDs and make them blink in a pattern. The possibilities are endless!
Conclusion
Congratulations! You’ve just taken your first steps into the world of Arduino. Remember, the key to learning is experimentation. Don’t be afraid to modify the code and see what happens. The possibilities with Arduino are endless, and this is just the beginning of your journey.
We hope this Arduino Beginners Guide has been helpful. If you have any questions or want to share your first Arduino project, feel free to leave a comment below.
And don’t forget to read these two articles also.